
photo: StockSnap.io/Ozark Drones
Ask me what the one natural beauty product I can’t live without is, and I’ll tell you without hesitation that it’s rose water. The reason? It’s just so simple, but so so versatile. I spritz the antioxidant-rich elixir after my morning shower to help wake up my senses and balance my skin’s pH. I’ve also been known to whip out the small bottle of rose water I keep in my purse, and give my face a mid-afternoon spritz. This little refresher (and let’s be honest, probably a cup of coffee too) is sometimes the sole reason I’m able to power through the rest of my work day. I lightly mist my sheets and pillows with rose water when I want a truly restful night’s sleep, and it’s also perfect for boosting shine in clean or even day-old hair (just flip your head upside down and spray right after shaking out your dry shampoo).
Until recently, I was a devotee of Heritage Store rose water, because the Whole Foods on the way home from work kept it in stock. Convenience is the key to my heart, folks. But he other day, I decided on a whim to try making my own, and now I’ll never buy rose water again. It’s so simple to make and this recipe yields clear, fragrant rose water that’ll last up to six months at room temperature.
Here’s what you’ll need:
- Small Spray Bottle (I used my old Heritage bottle, but next time I may try something like these cuties)
- Rose Petals
- Distilled Water
- Colander
- Pot w/ Lid (I used a small stock pot)
- Heat-safe Bowl (that fits inside your pot)
- Oven Mitts

photo: kaboompics
1. Prep the Petals
The first step is to pluck and rinse your rose petals. The absolute best option for this recipe is to pick your own roses, but if you can find organic roses at a local florist or grocery store, those will work just as well. The first time I made rose water, I found a bunch of organic roses at Trader Joe’s for $5!
Pluck enough petals to fill three measuring cups (for larger roses, this will be 5-6 blooms) and rinse them thoroughly using a colander and cool water. Shake out as much water as possible, then pat them dry using a kitchen towel.
2. Fill the Pot
Place your heat-safe bowl into the pot, and then add the petals around the base of the bowl. Fill the pot with enough distilled water so that it covers the petals. Place the lid of the pot on upside down; the handle should be positioned right above the center of the heat-safe bowl.
3. Simmer
Turn the burner on medium-high heat so that the water is steadily simmering for about 25 minutes. The simmering water will evaporate, collect on the lid of the pot, and the shape of the flipped lid will cause it to drip down the handle into the heat-safe bowl. Add a zip-lock bag of ice to the lid of the pot to cool it down and really speed up the condensation process. Replace the bag with fresh ice as it melts.
4. Cool
At the 25-minute mark, carefully remove the bag of melted/melting ice and use your oven mitts to remove the lid to see how much liquid has collected in the heat-safe bowl. If what you’ve got is enough, take the pot and bowl off of the heat and allow the liquid in the bowl (your rose water!!) to fully cool. You can keep the pot simmering a while longer to allow more rose water to evaporate and drip into the bowl if you’d like, just keep a close eye on the water in your pot, adding some if necessary to make sure it doesn’t run dry.
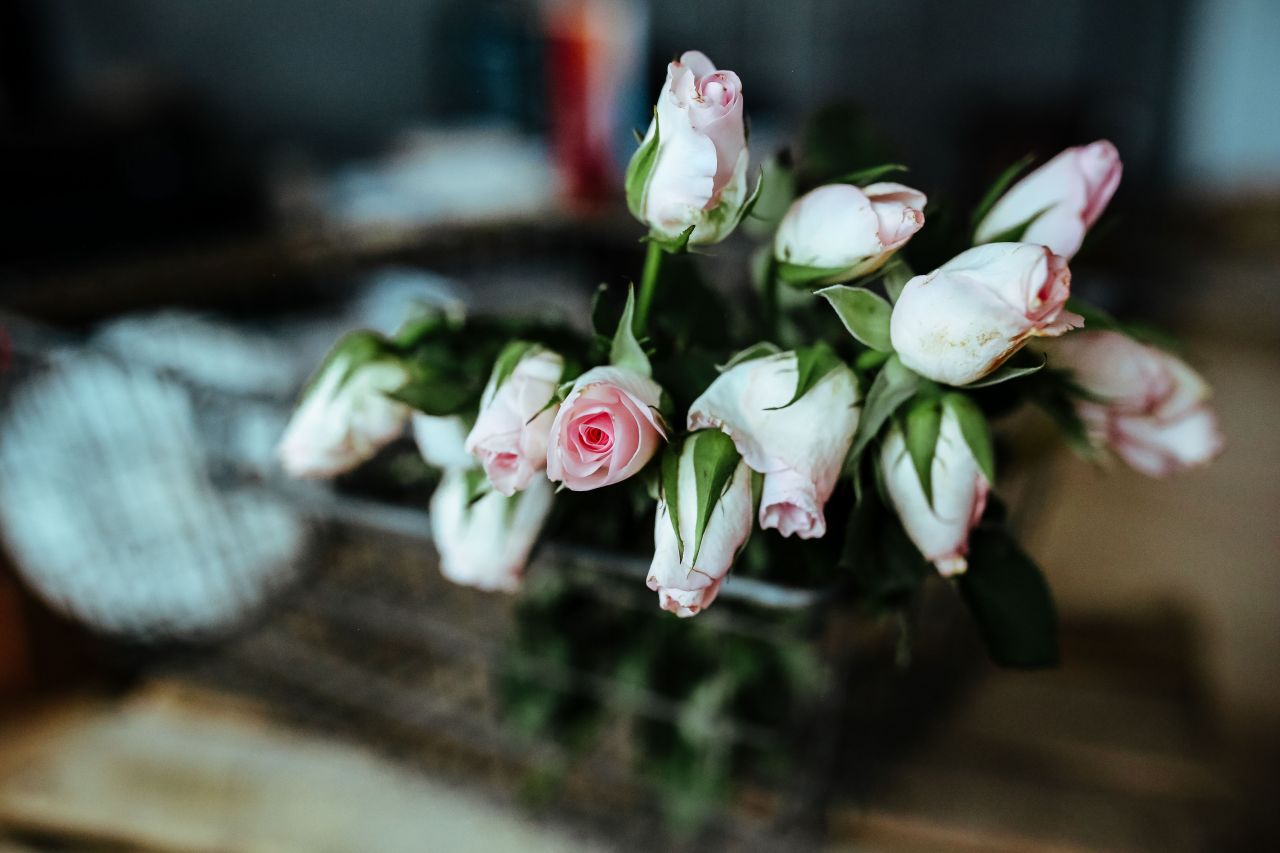
photo: kaboompics
Once your rose water reaches room temperature, poor it into your spray bottle and you’re done! Make multiple rose water sprays and store them where you use them most. I like to keep one in my purse, one on my bedside table, and one in the fridge to use as a cool and refreshing pre-makeup toning mist.
What’s your favorite use for rose water? I’d love to hear about it in the comments below!
XO,
Sarah
